Managing Overlays
Managing Overlays
Overlays allow you to load external KML files into Azmyth Web for additional context such as nodes, spans, and waypoints.
Note
- Each overlay can be turned on or off independently.
- Waypoint overlays support status-based color toggling for fielding and extraction workflows.
1. Overlay Types
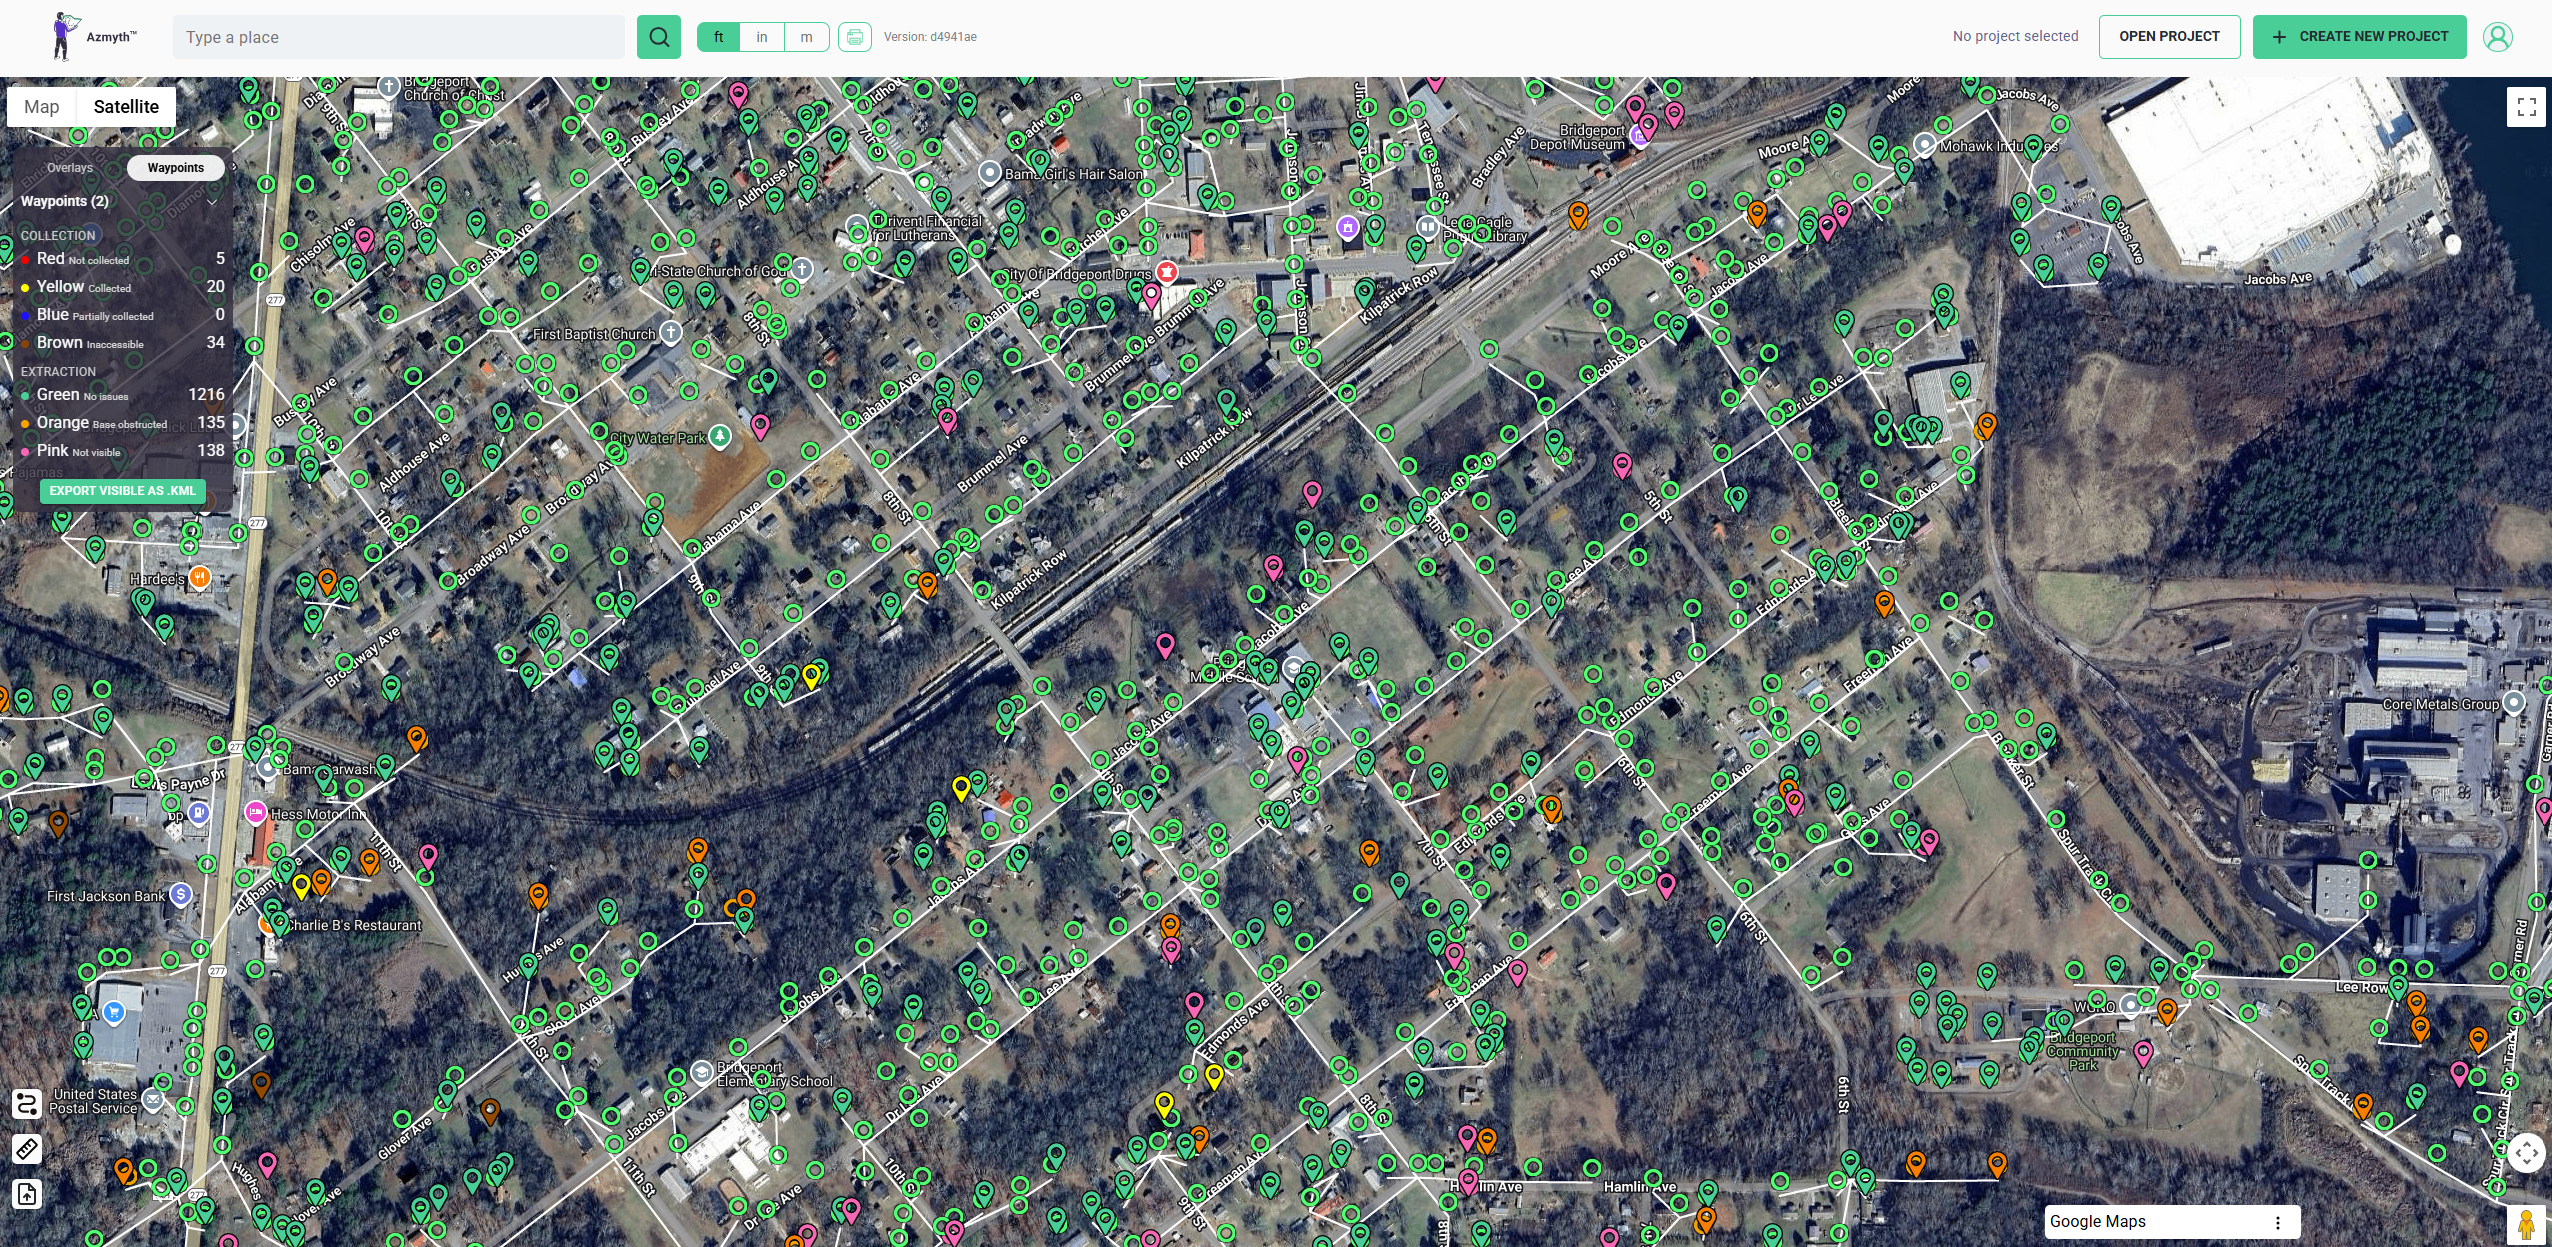
Azmyth supports two main overlay categories:
A. Map Overlays (KML)
These are KML files containing:
- Nodes / Poles
- Spans / Linework
These layers sit on top of the map to provide reference structure locations, line paths, and previously collected datasets.
B. Waypoint Overlays (KML)
These contain waypoint points used for:
- Field collection planning
- Extraction workflows
- QC / verification
- Tracking progress
Waypoints can be displayed using multiple colors based on their status.
2. Loading Overlays
- Open Azmyth.
- Click the overlays button in the bottom right of your screen.
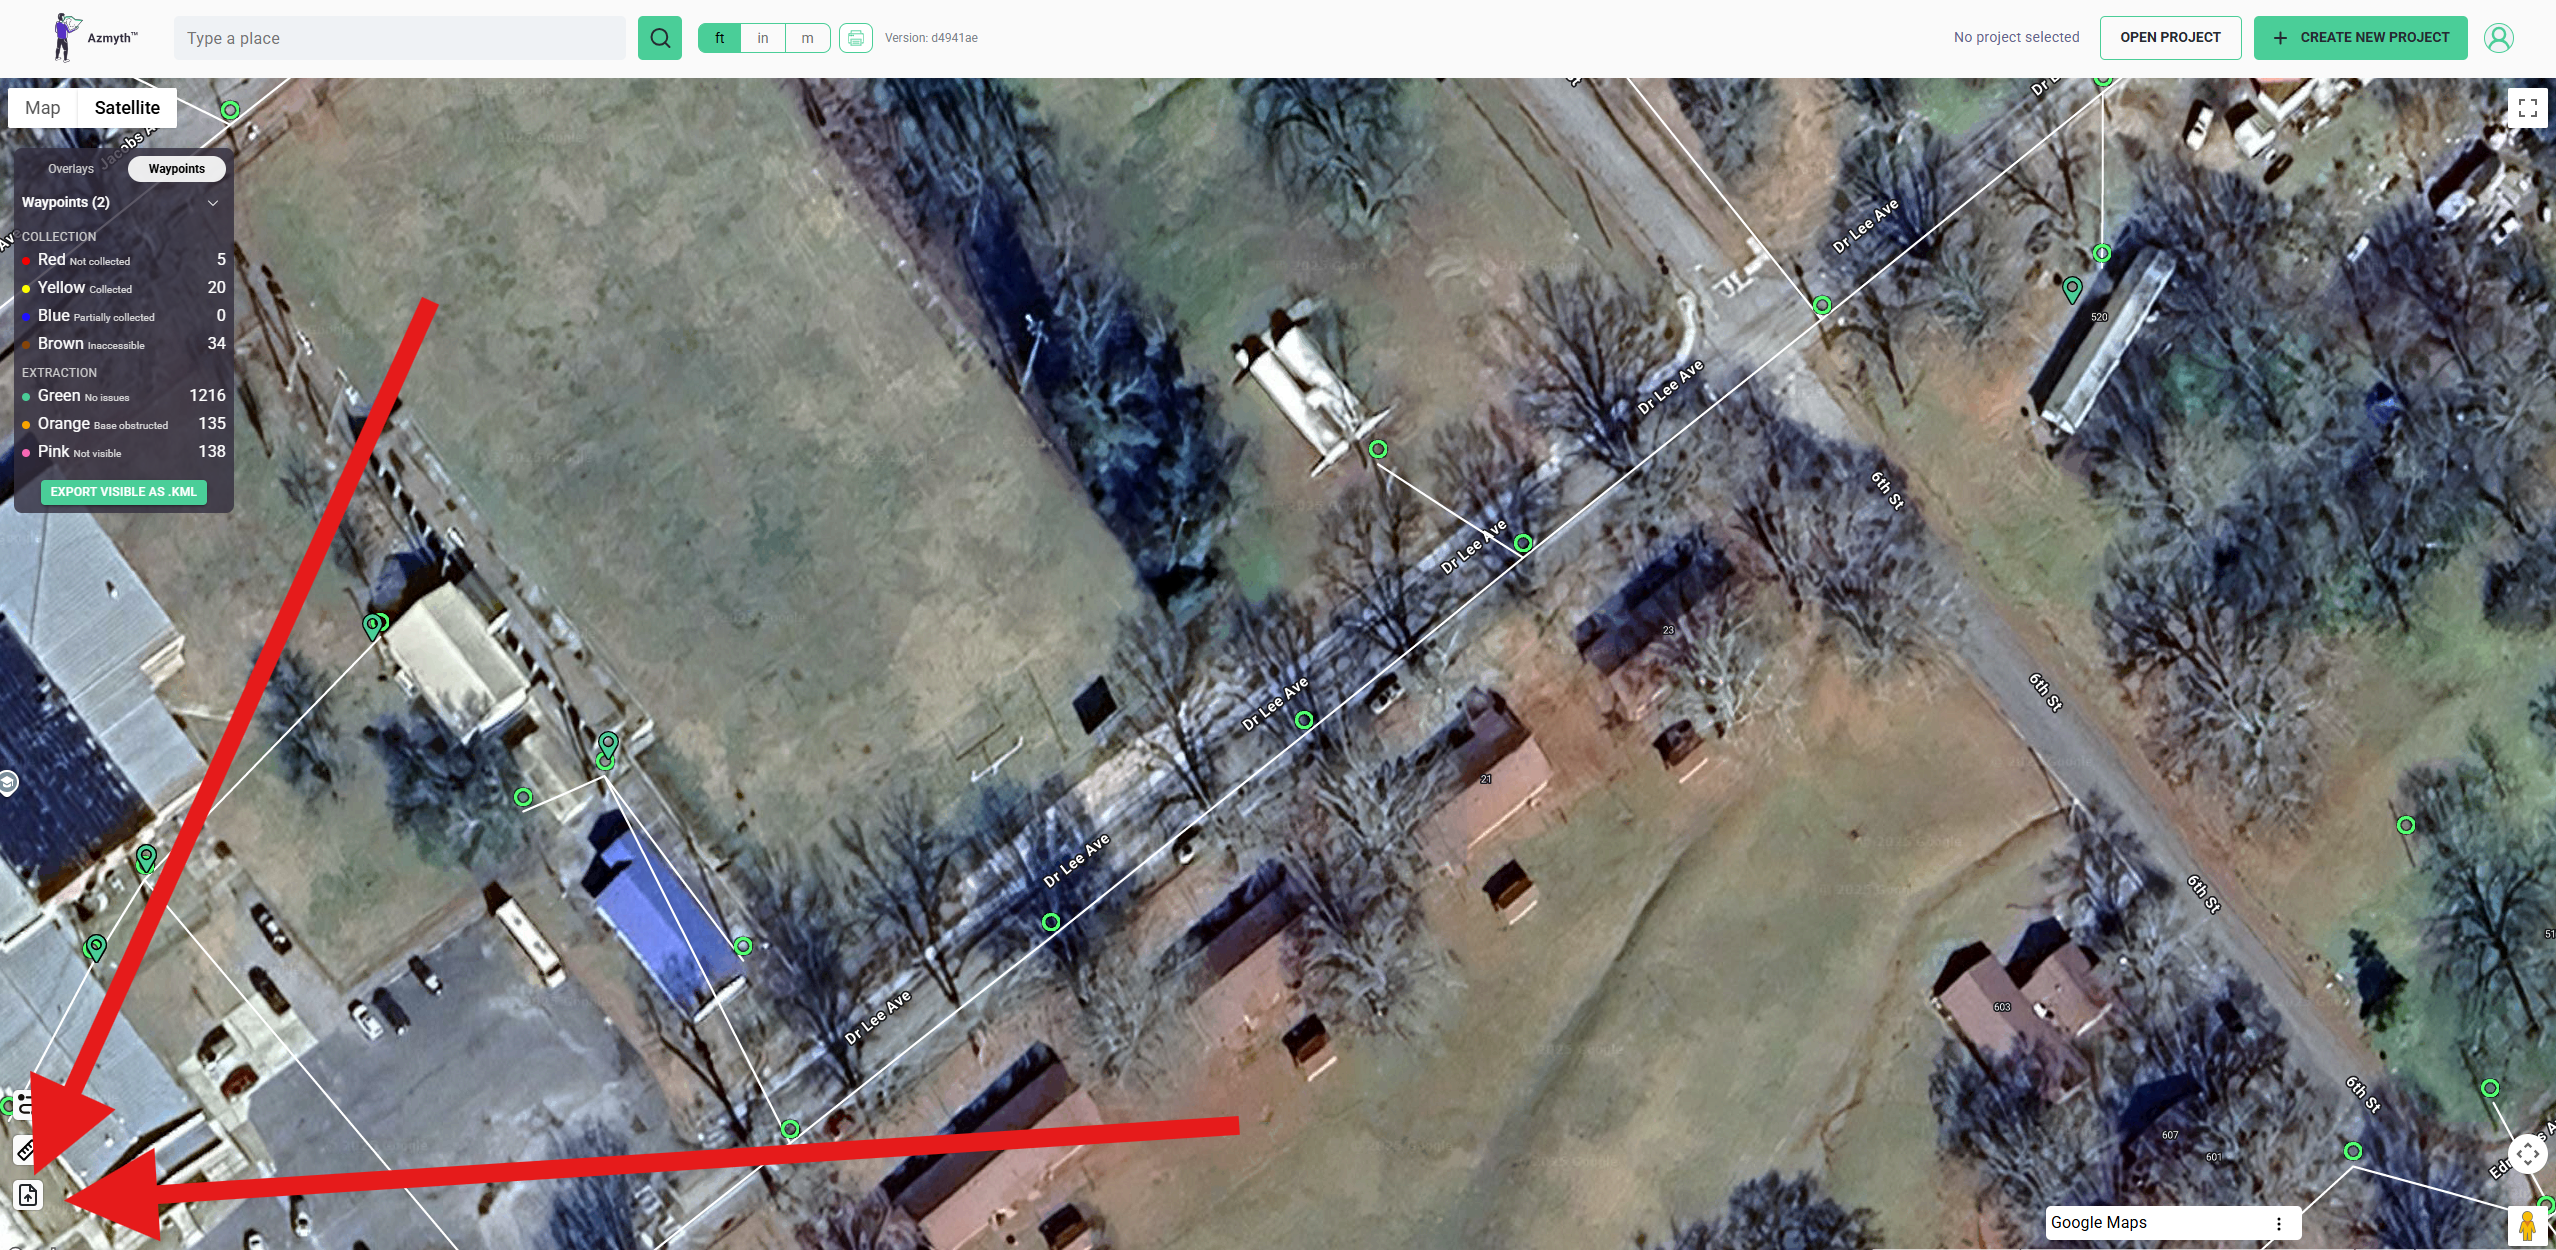
The overlay button is located in the bottom right of the window. - Choose either Overlays (nodes/spans) or Waypoints.
- Upload a KML/KMZ file.
- If uploading a Map Overlay, assign either RYG, Joint Use Audit or Other to it.
- This will assign specific rules to the KML.
- The overlay appears instantly on the map and in the overlay list.
Overlays are stored under folders so you can organize by project or company.
3. Turning Overlays On/Off
Each uploaded overlay appears in a list with a simple visibility toggle.
- Check the box to enable it.
- Uncheck it to hide it.
- Multiple overlays can be active at once.
- You can delete an overlay using the trash icon.
This lets you show only the layers relevant to the work you're reviewing.
4. Editing Map Overlays
You can edit or delete overlay nodes, spans and midspans in Azmyth.
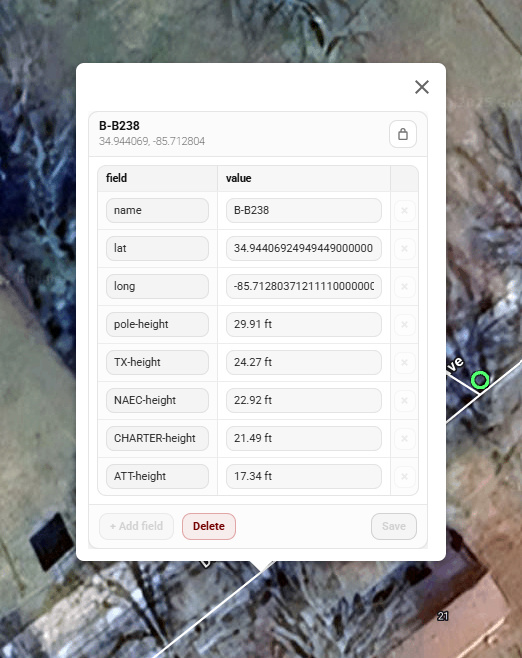
Editing Overlay Attribute Steps
- Click on an overlay's node, span or midspan. The feature's attributes will appear in an editable table.
- Click the lock button in the top right of the menu to allow edits.
- Click on the field or value that you wish to edit.
- To adda a field, simply press Add field in the bottom left of the window.
- Click Save in the bottom left of the window to save your edits.
Deleting Overlay Attribute Steps
- Click on an overlay's node, span or midspan. The feature's attributes will appear in an editable table.
- Click the Delete button in the bottom of the window.
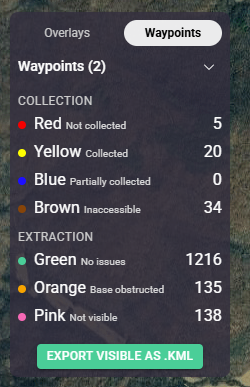
5. Waypoint Status Colors
Waypoint overlays support color switching to reflect collection or extraction progress.
- Simply click a waypoint to change its color.
Supported colors include:
Collection colors
- Red = not collected
- Yellow = collected
- Blue = partially collected
- Brown = inaccessible
Extraction colors
- Green = no issues
- Orange = base obstructed
- Pink = not visible
Color toggles instantly update the displayed waypoints on the map.
These colors are customizable to your workflow, but the list above reflects their default designations in Azmyth.
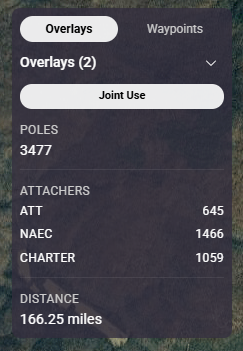
6. Viewing Overlay and Waypoint Details
There is a menu in the top left of the window which allows you to view details about your overlay or waypoints.
This menu can be opened or closed by clicking on it.