Azmyth on Foot Quick Start Instructions
This is a quick overview of how to set up and use your Azmyth on Foot account. You can find detailed instructions for each step in the menu to the left.
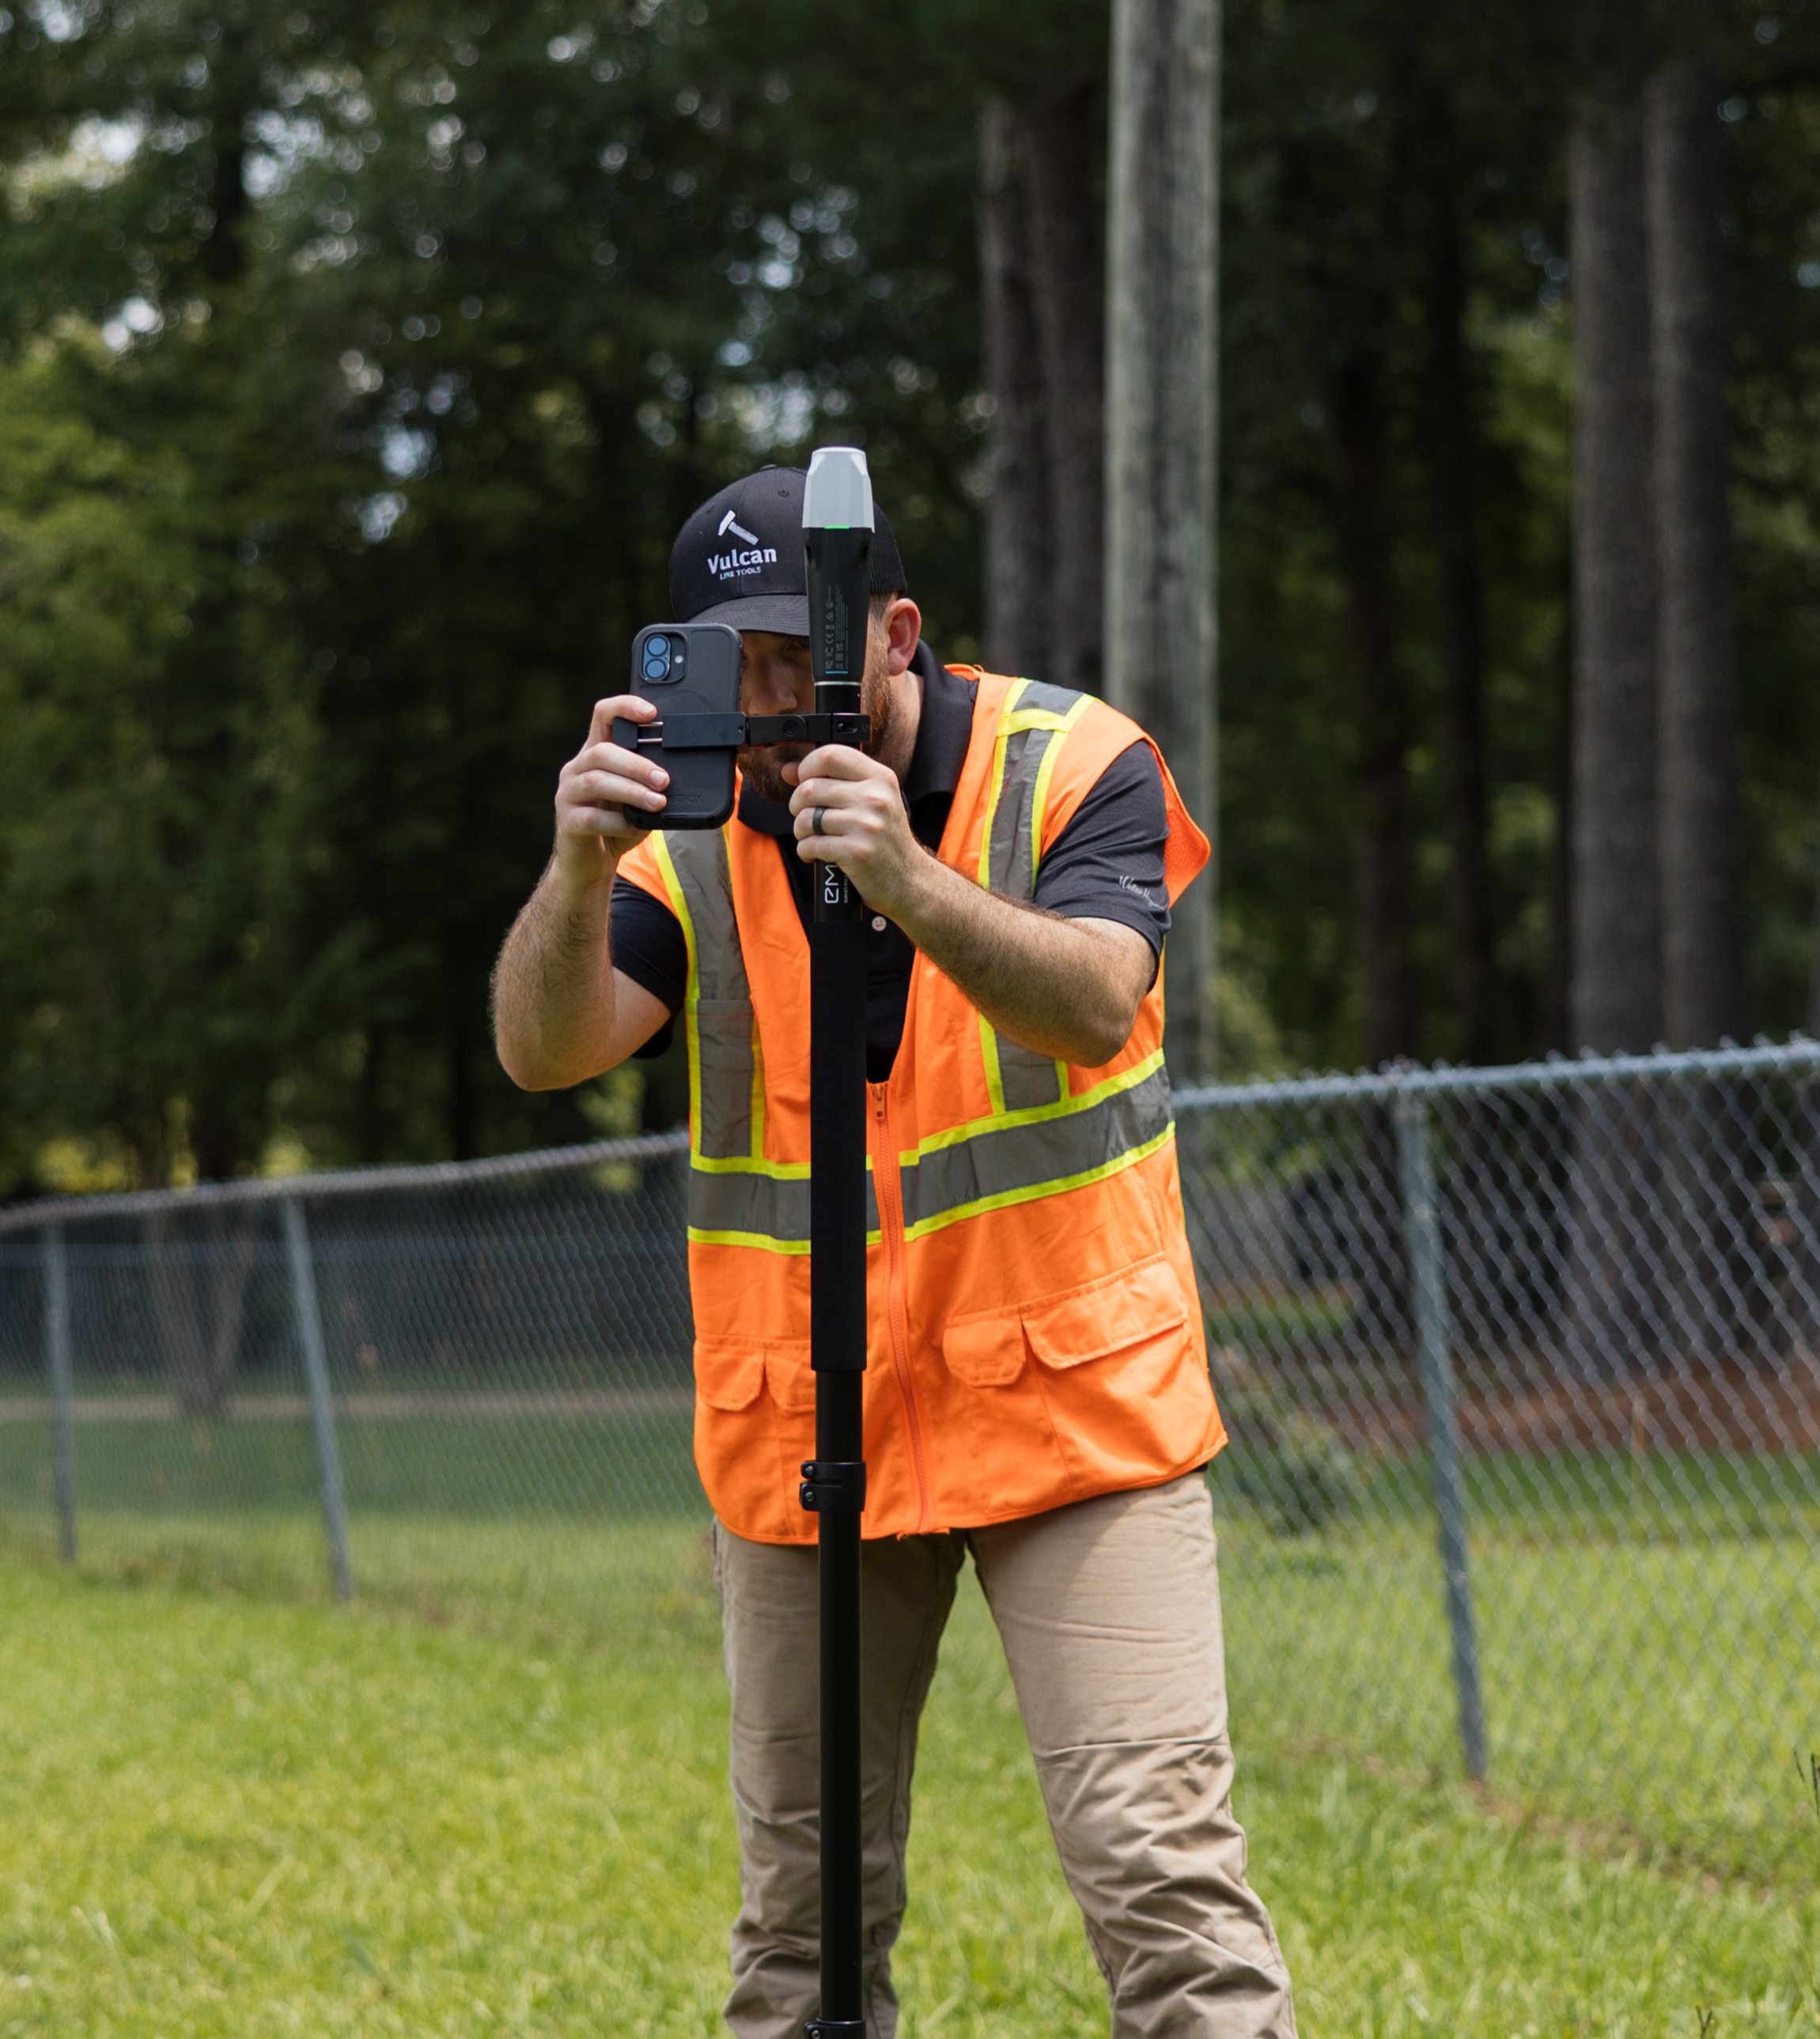
1. Create your Azmyth account & company
- On your laptop or desktop, go to azmyth.io.
- Create an account using your work email.
-
You’ll be asked to either:
- Create a company – do this if you’re the first person at your organization using Azmyth. or
- Join an existing company – copy and paste in the Company UUID provided by your admin.
-
Once your company exists, claim or purchase an Azmyth on Foot subscription
– pricing is currently $100 / month per subscription.
Where do I find the company UUID?
Ask the person who first created your company in Azmyth.
They can copy it from the "My Company" settings page in the web app.
2. Install Azmyth on Foot and log in
- On your iPhone, open the App Store.
- Search for “Azmyth on Foot” and install the app. The app is technically named "Azmyth".
- Open the app and log in using the same account you created on azmyth.io.
You’re now ready to connect to RTK and start capturing.
3. Connect RTK GPS and NTRIP
Azmyth on Foot is designed to work with RTK GPS receivers (e.g. Emlid RX) so you can get sub-inch accuracy.
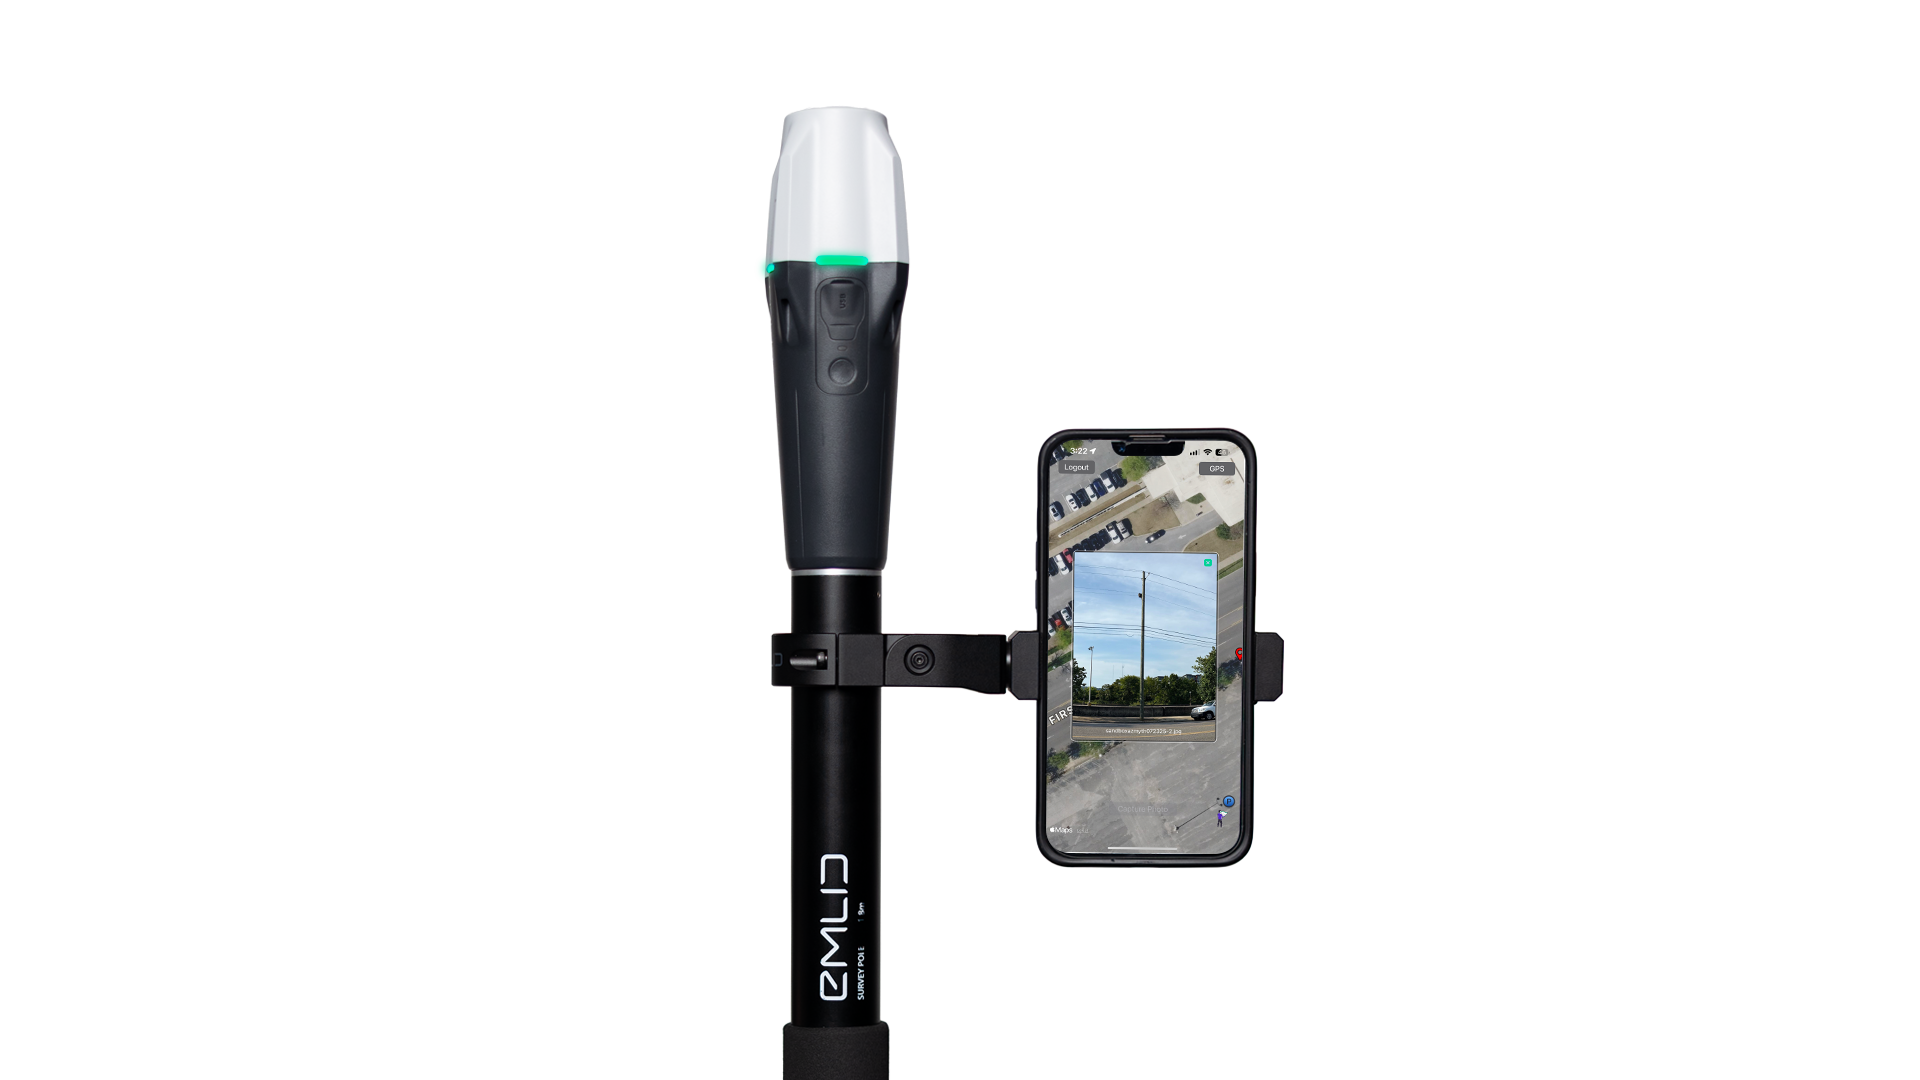
- Power on your RTK GPS receiver and make sure it’s nearby.
- In Azmyth on Foot, open the GPS screen.
-
Enter your NTRIP credentials (caster URL, port, username, password).
-
Tap on the Mount Point field:
- If mount points appear, select the appropriate one and continue.
- If no mount points appear, there is almost always a typo in the credentials. Double-check each field carefully and try again.
-
After mount point selection, connect to your Emlid RX via Bluetooth from within the app.
No mount points listed?
99% of the time this means the NTRIP credentials are incorrect.
Double-check:
- Host/caster URL
- Port
- Username
- Password
4. Confirm RTK corrections
Before you start collecting data, confirm that RTK corrections are flowing.
- Go back to the main screen in Azmyth on Foot.
- Look for the status indicator:
- You should see “Receiving Corrections” once the GPS and NTRIP are connected.
- Step outside with a clear sky view. Within a short time, you should see the reported accuracy drop to around ±0.6 in.
This is your sanity check that everything is set up correctly.
Quick field test
If you don’t see “Receiving Corrections” or the accuracy doesn’t improve:
- Confirm Bluetooth is connected to the correct RTK receiver
- Re-check NTRIP credentials and mount point
- Make sure you’re not indoors or under heavy tree canopy
5. Capture a node photo (in the field)
Now you’re ready to capture your first node (pole).
- Walk to a pole (or other node) you want to capture.
- Stand back at a comfortable distance (not too close) where you can see the full pole in the frame.
- In the Azmyth on Foot app, tap “Capture Photo”.
- Align the pole with the on-screen crosshairs:
- Keep the phone straight up and down (minimal tilt).
- Center the pole as best as possible.
- Take the photo.
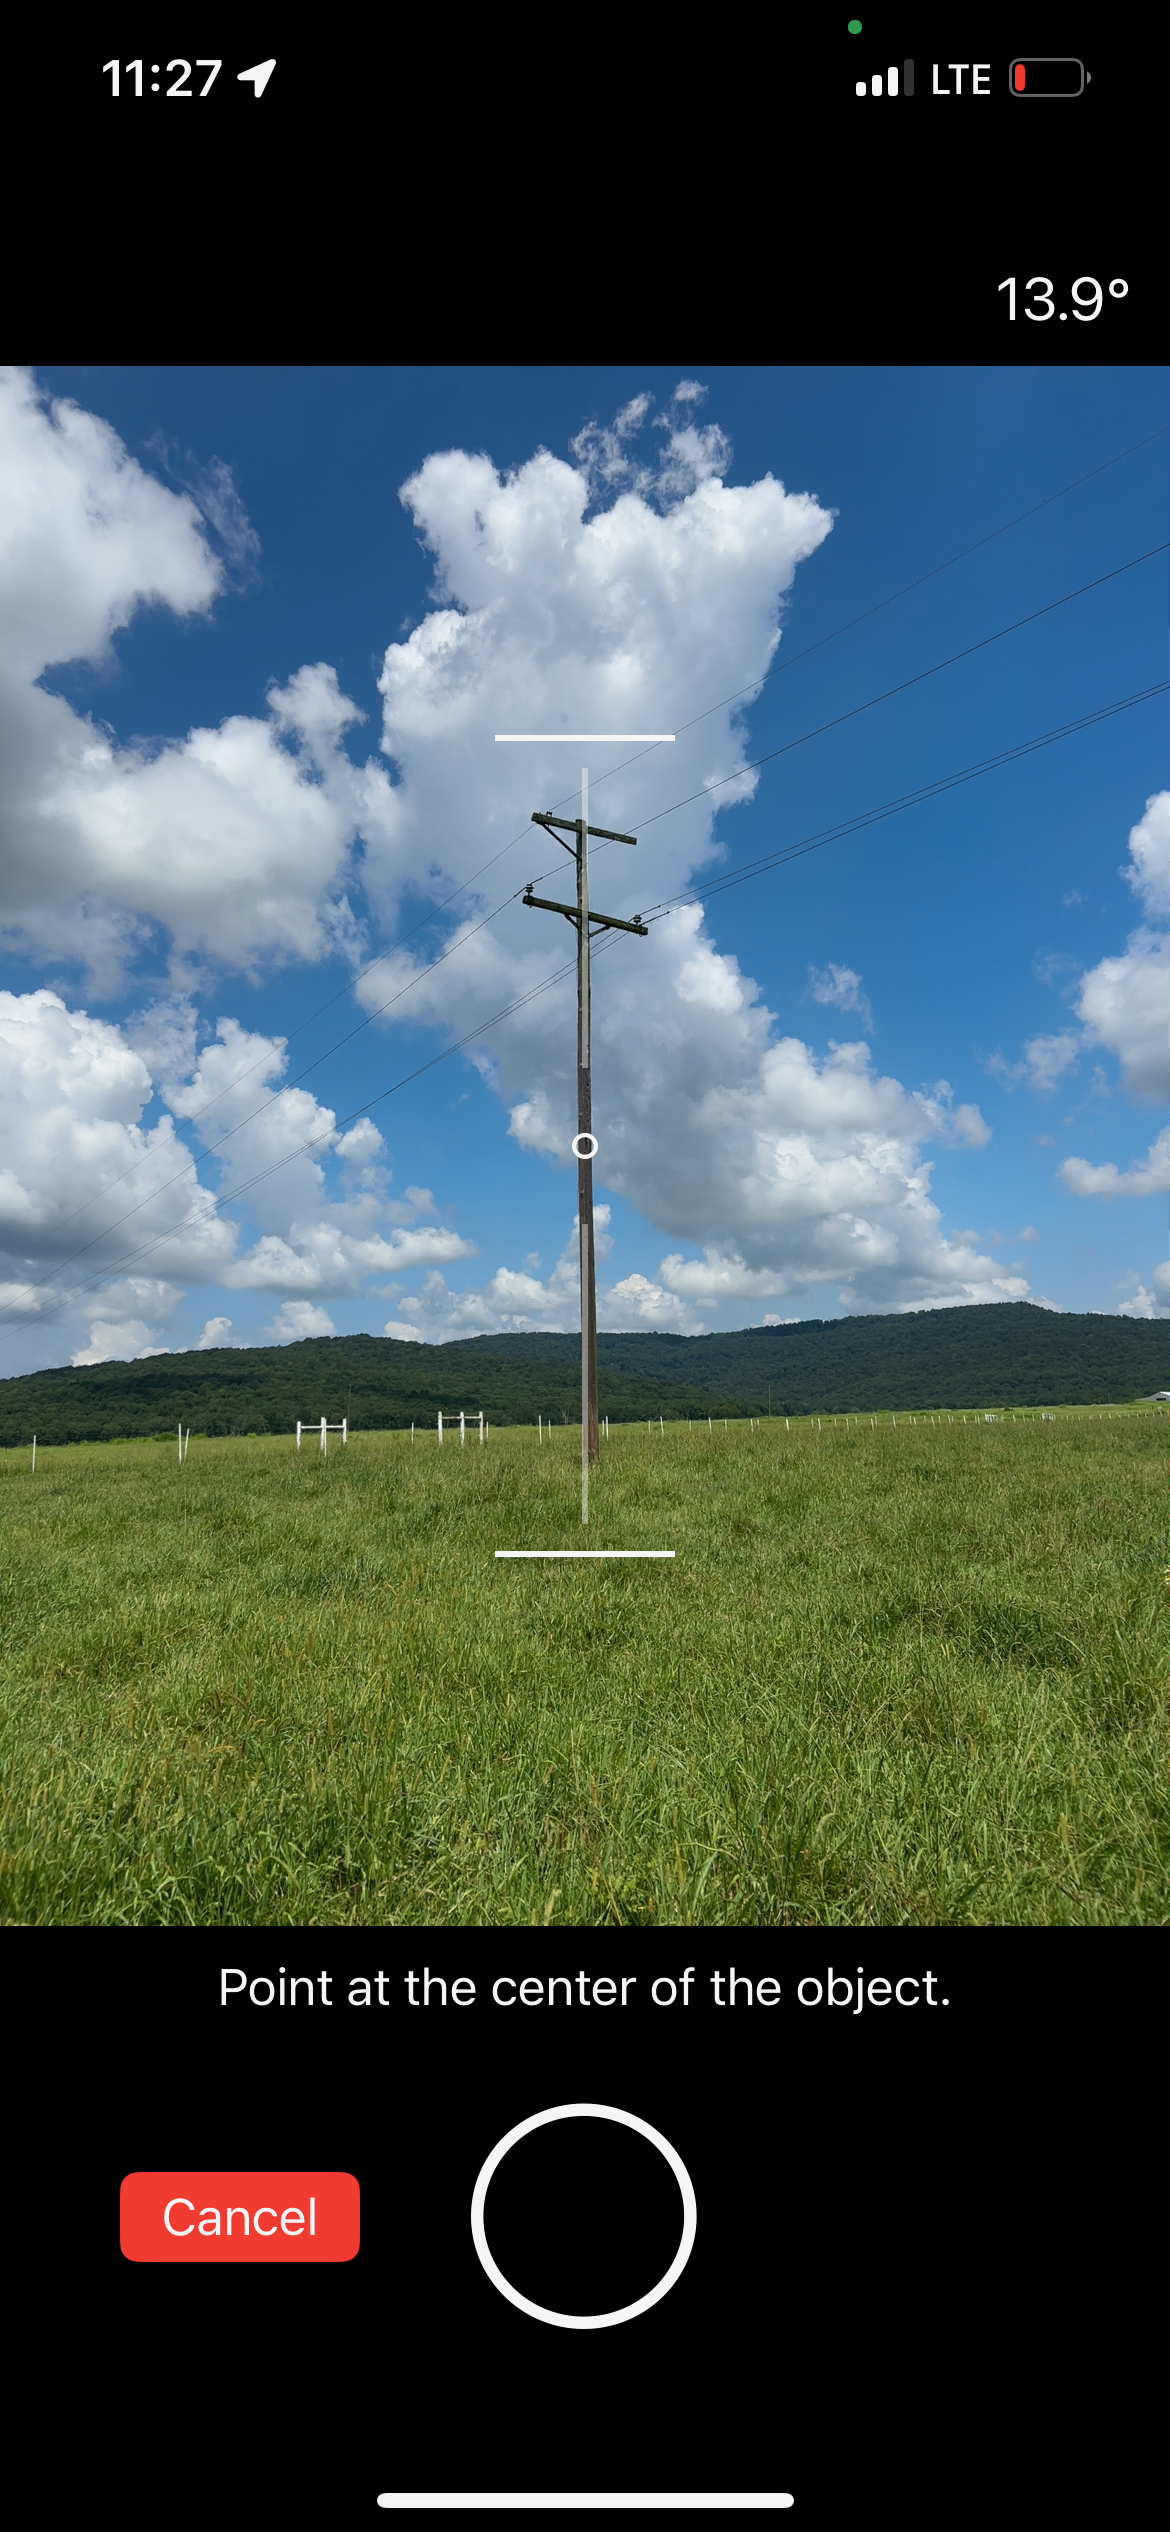
This image, combined with RTK position and phone orientation, will be used later in Azmyth to measure heights and clearances.
6. Add supplemental data (optional but recommended)
Right after capturing the photo, you’ll see an “Add Data” button.
- Tap “Add Data”.
- (Optional) Capture supplemental photos (e.g., equipment close-ups, labels, or back side of the pole).
- Add any notes or attributes relevant to the node:
- Structure ID
- Location notes
- Asset tags
- Ownership details, etc.
- Tap Save.
This builds a richer record for each node that will show up in the Azmyth web app.
7. Capture the node position with the staff
Next, you’ll capture the exact node position using the RTK receiver on a staff.
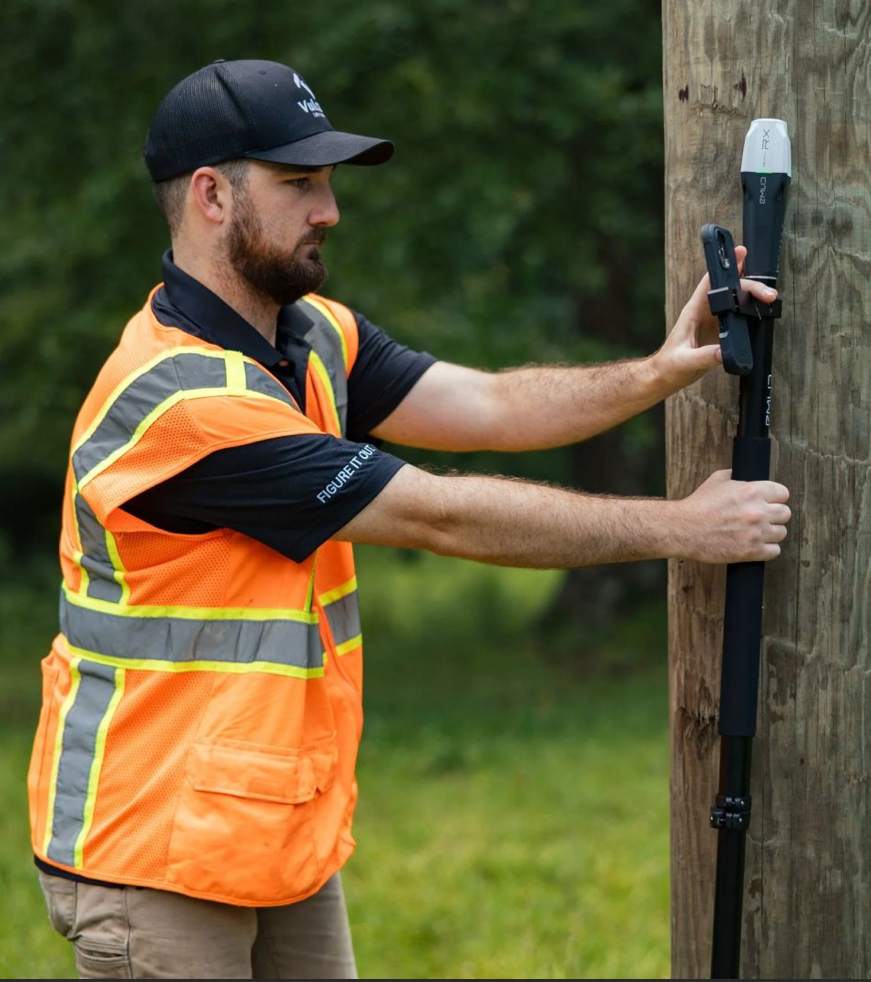
- Walk up to the pole/node you just photographed.
- Place the staff directly on top of the node:
- For poles, place the GPS unit on the face of the pole at the location you used as your reference in the photo.
- In the app, tap “Capture Node”.
If you’ve enabled auto-upload to Azmyth:
- The imagery and data will upload automatically to the Azmyth web app when you have connectivity.
If auto-upload is not enabled:
- The image and data are stored locally on the device, and you can upload them later when you’re back on Wi-Fi.
8. Review in the Azmyth web app
Back at your desk (or on a laptop in the truck):
- Go to azmyth.io and log in.
- Create or open the project you’re working in.
- Locate the node you captured and click the associated image.
- The Azmyth viewer will open, showing:
- The pole photo
- Node position on the map
- Any supplemental photos and attributes you added.
9. Measure, analyze, and export
From the Azmyth web app:
-
Use the measurement tools on the image to:
- Measure heights (e.g., pole top, attachment points).
- Measure clearances (e.g., conductor to ground).
- Measure anchors and midspans where applicable.
- Click Save Node to save your work and move on.
-
When you’re ready to share or archive the data, you can export in multiple formats:
- KML, Shapefile, CSV
- (and other supported formats depending on your configuration)
For more detailed information on these individual steps, please reference the menu on the left.