Upload & sync
Azmyth supports both auto-upload in the background and manual upload when you’re back on Wi-Fi or in the office.
This page explains how each option works and what to expect.
1. Auto-Upload Enabled
When Upload directly into Azmyth is turned on, Azmyth on Foot will automatically send your captured data to the Azmyth web app whenever the device has a usable internet connection.
This is only recommended for crews working in areas with strong cellular connection.
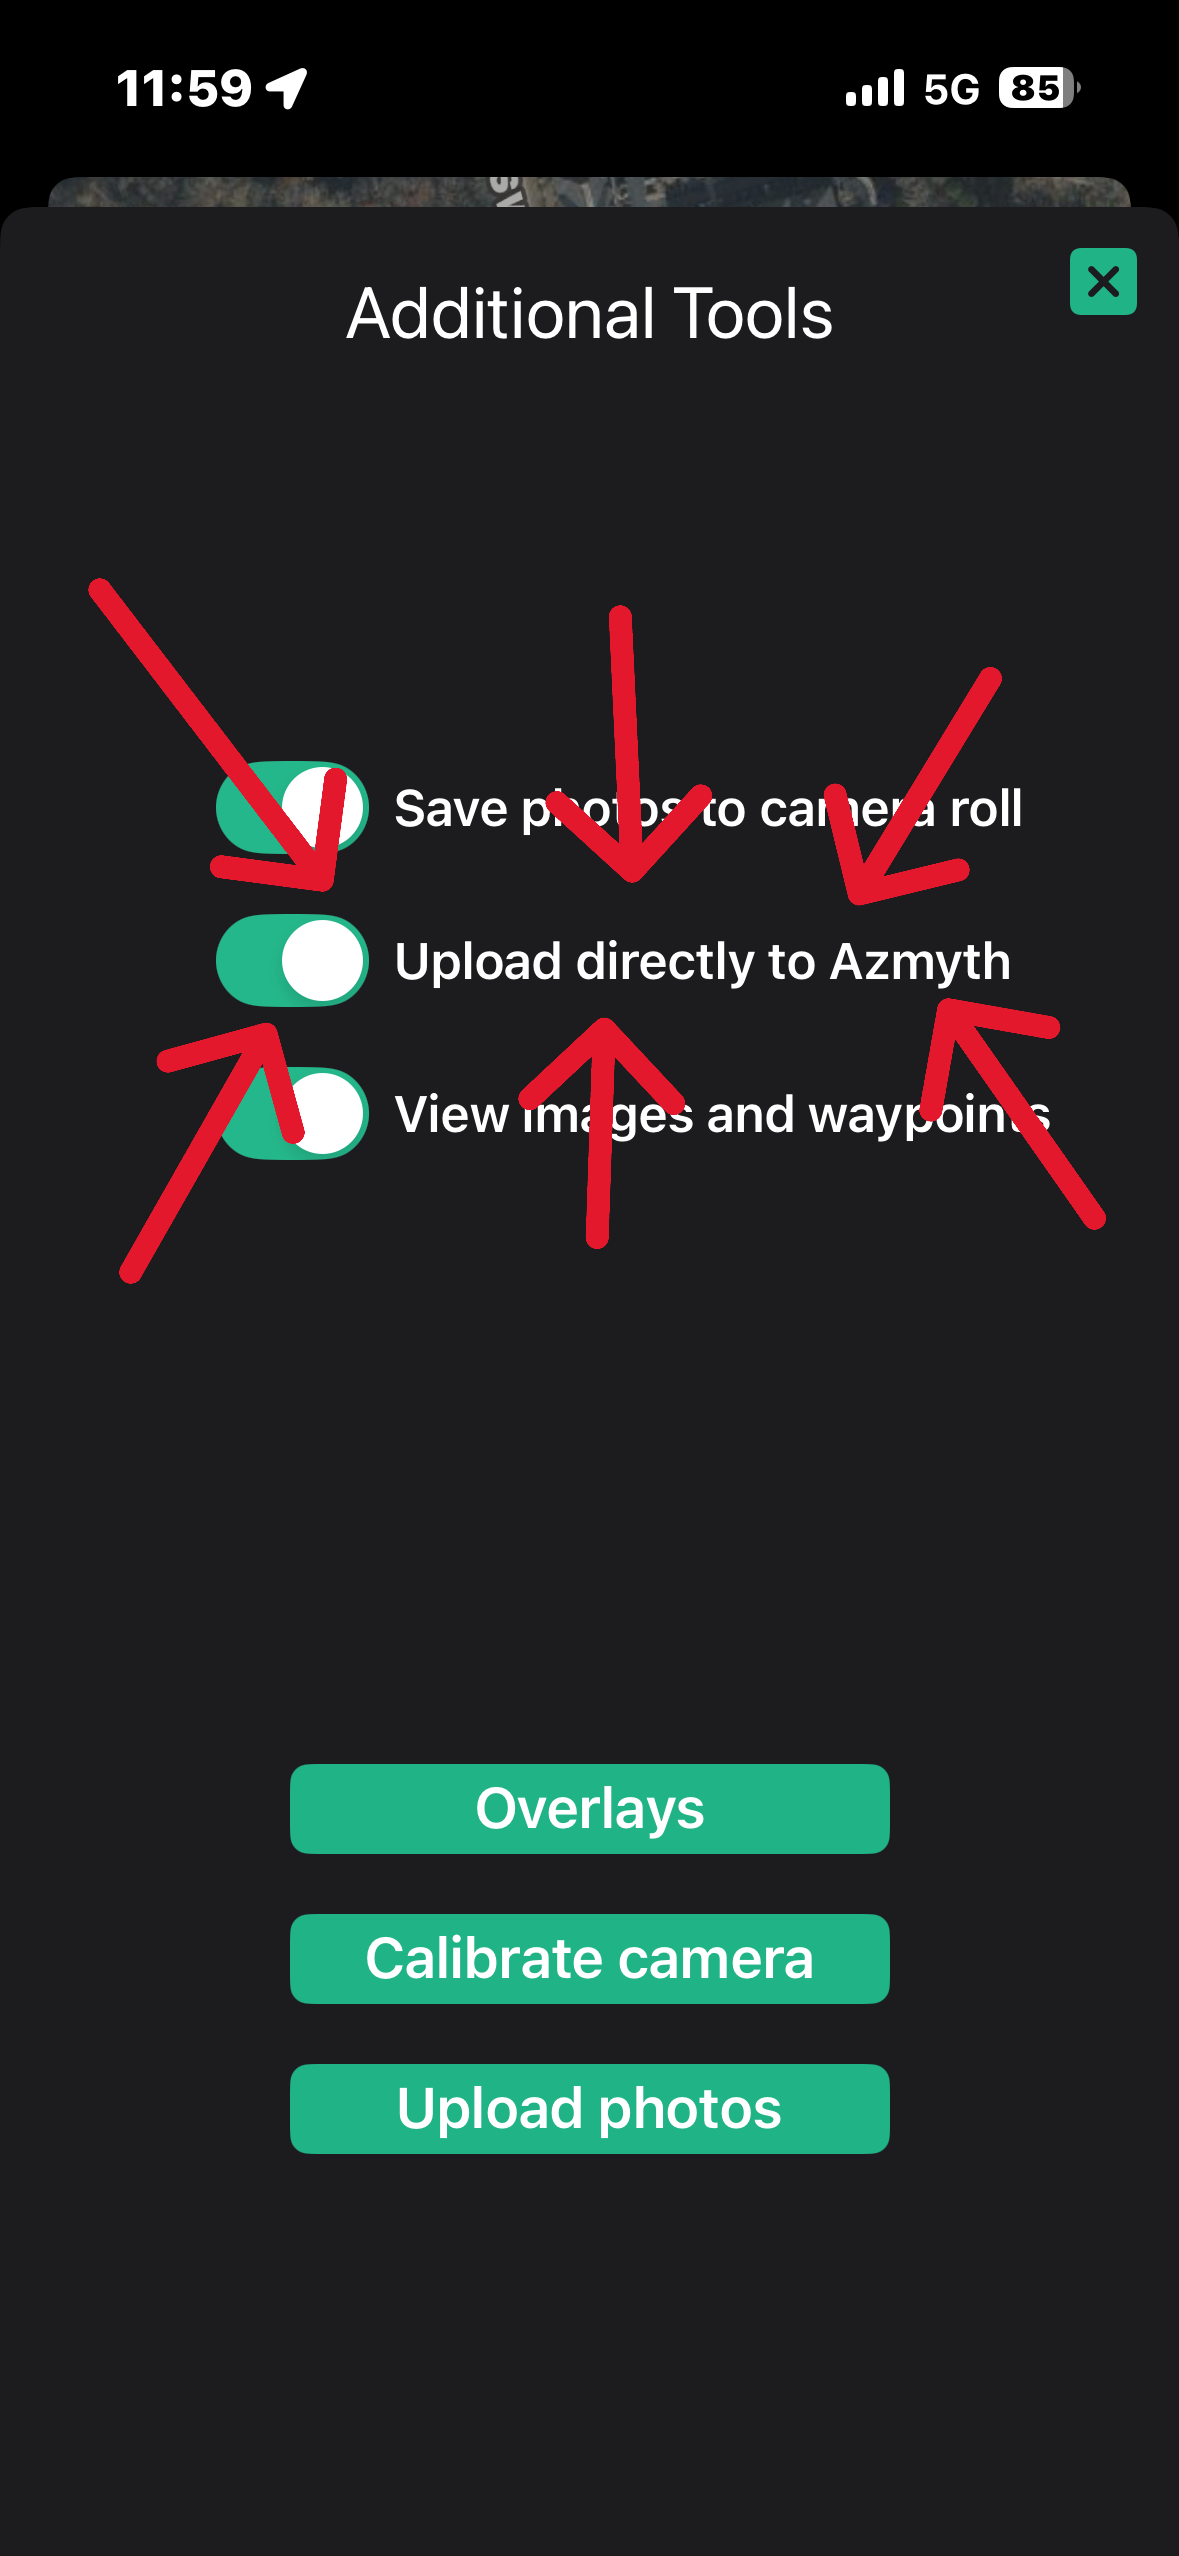
What gets uploaded
For each node, Azmyth uploads: - A node photo - Any supplemental photos - The *RTK node position* - Any attributes and notes** you added
When it uploads
- If you have cellular data or Wi-Fi in the field, uploads may complete within seconds.
- If you’re offline, Azmyth will queue the uploads and send them automatically when a connection becomes available.
How to verify uploads
On your mobile device:
- A message will appear in the app stating that the photo was uploaded successfully.
- Successfully uploaded photos will automatically be liked within the camera roll (indicated by a heart in the bottom left of the photo).
In the web app:
- Log into azmyth.io and open your project.
- Confirm that newly captured nodes appear at the coordinates at which the photo was taken.
With auto-upload enabled, field crews can focus on collection while Azmyth handles sync in the background.
2. Auto-Upload Disabled (Manual Upload)
If Upload directly to Azmyth is disabled, Azmyth stores everything locally on the device until you manually upload.
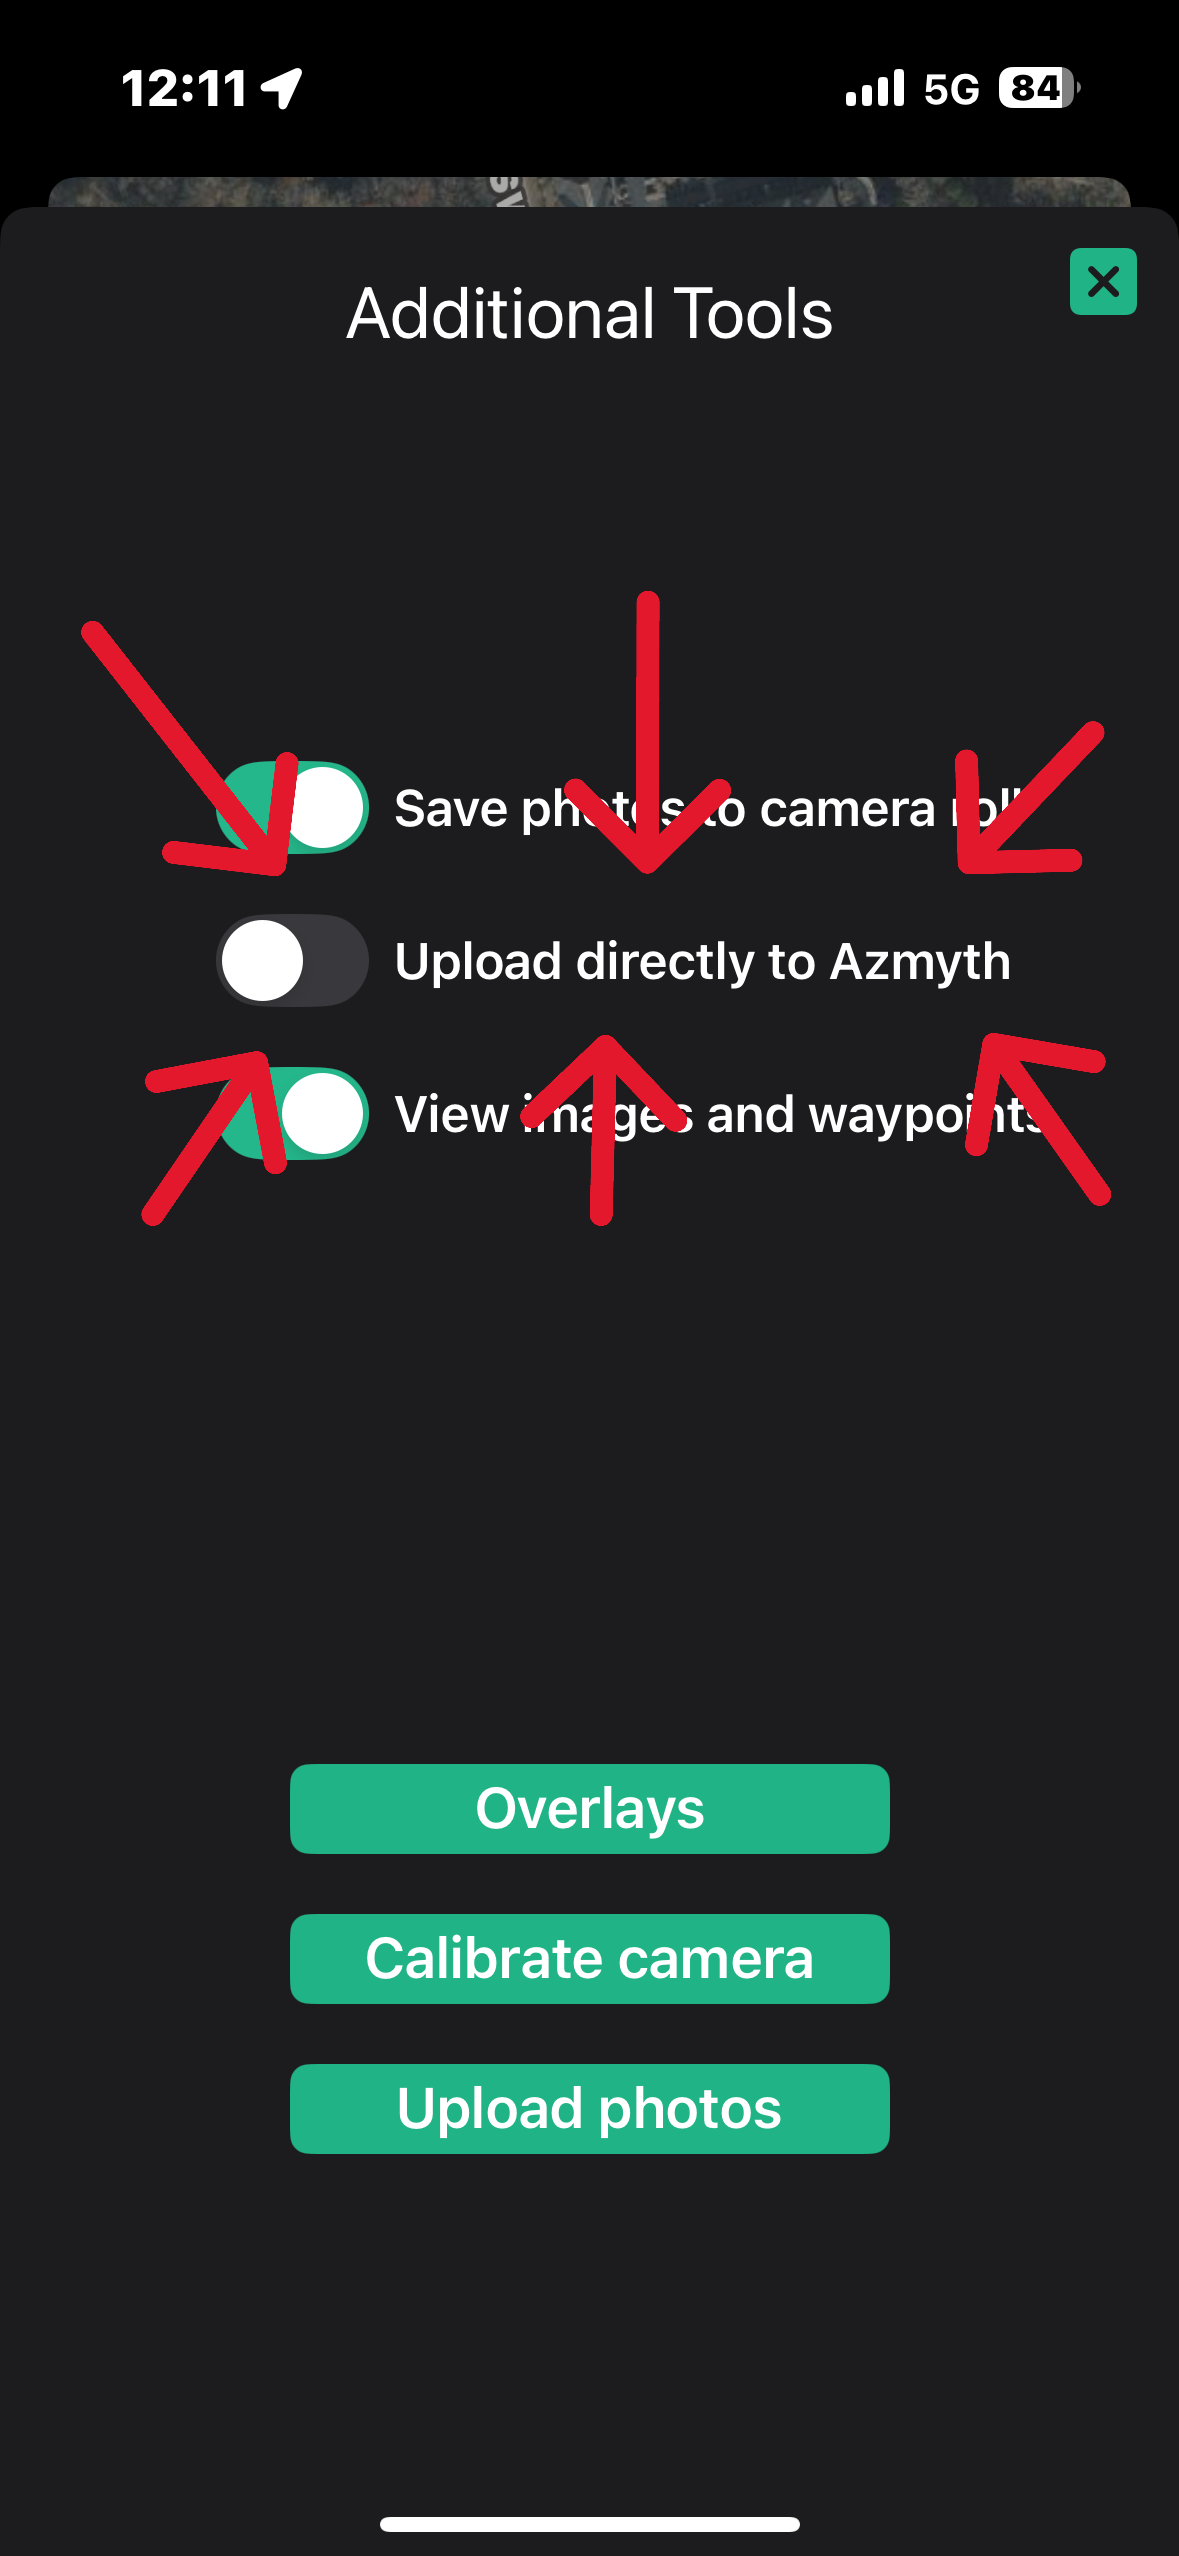
What this means
- All images, positions, and notes are safe on the device, even without connectivity.
- Nothing appears in the Azmyth web app until you start an upload.
Typical use cases
- Highly recommended when working in remote areas without reliable data coverage.
- Great when running controlled uploads at the end of each day.
How to manually upload
- Connect the device to Wi-Fi or a reliable network.
- Open the Azmyth on Foot app.
- Go to the Map Maker icon in the bottom right of the app.
- Click Upload Photos.
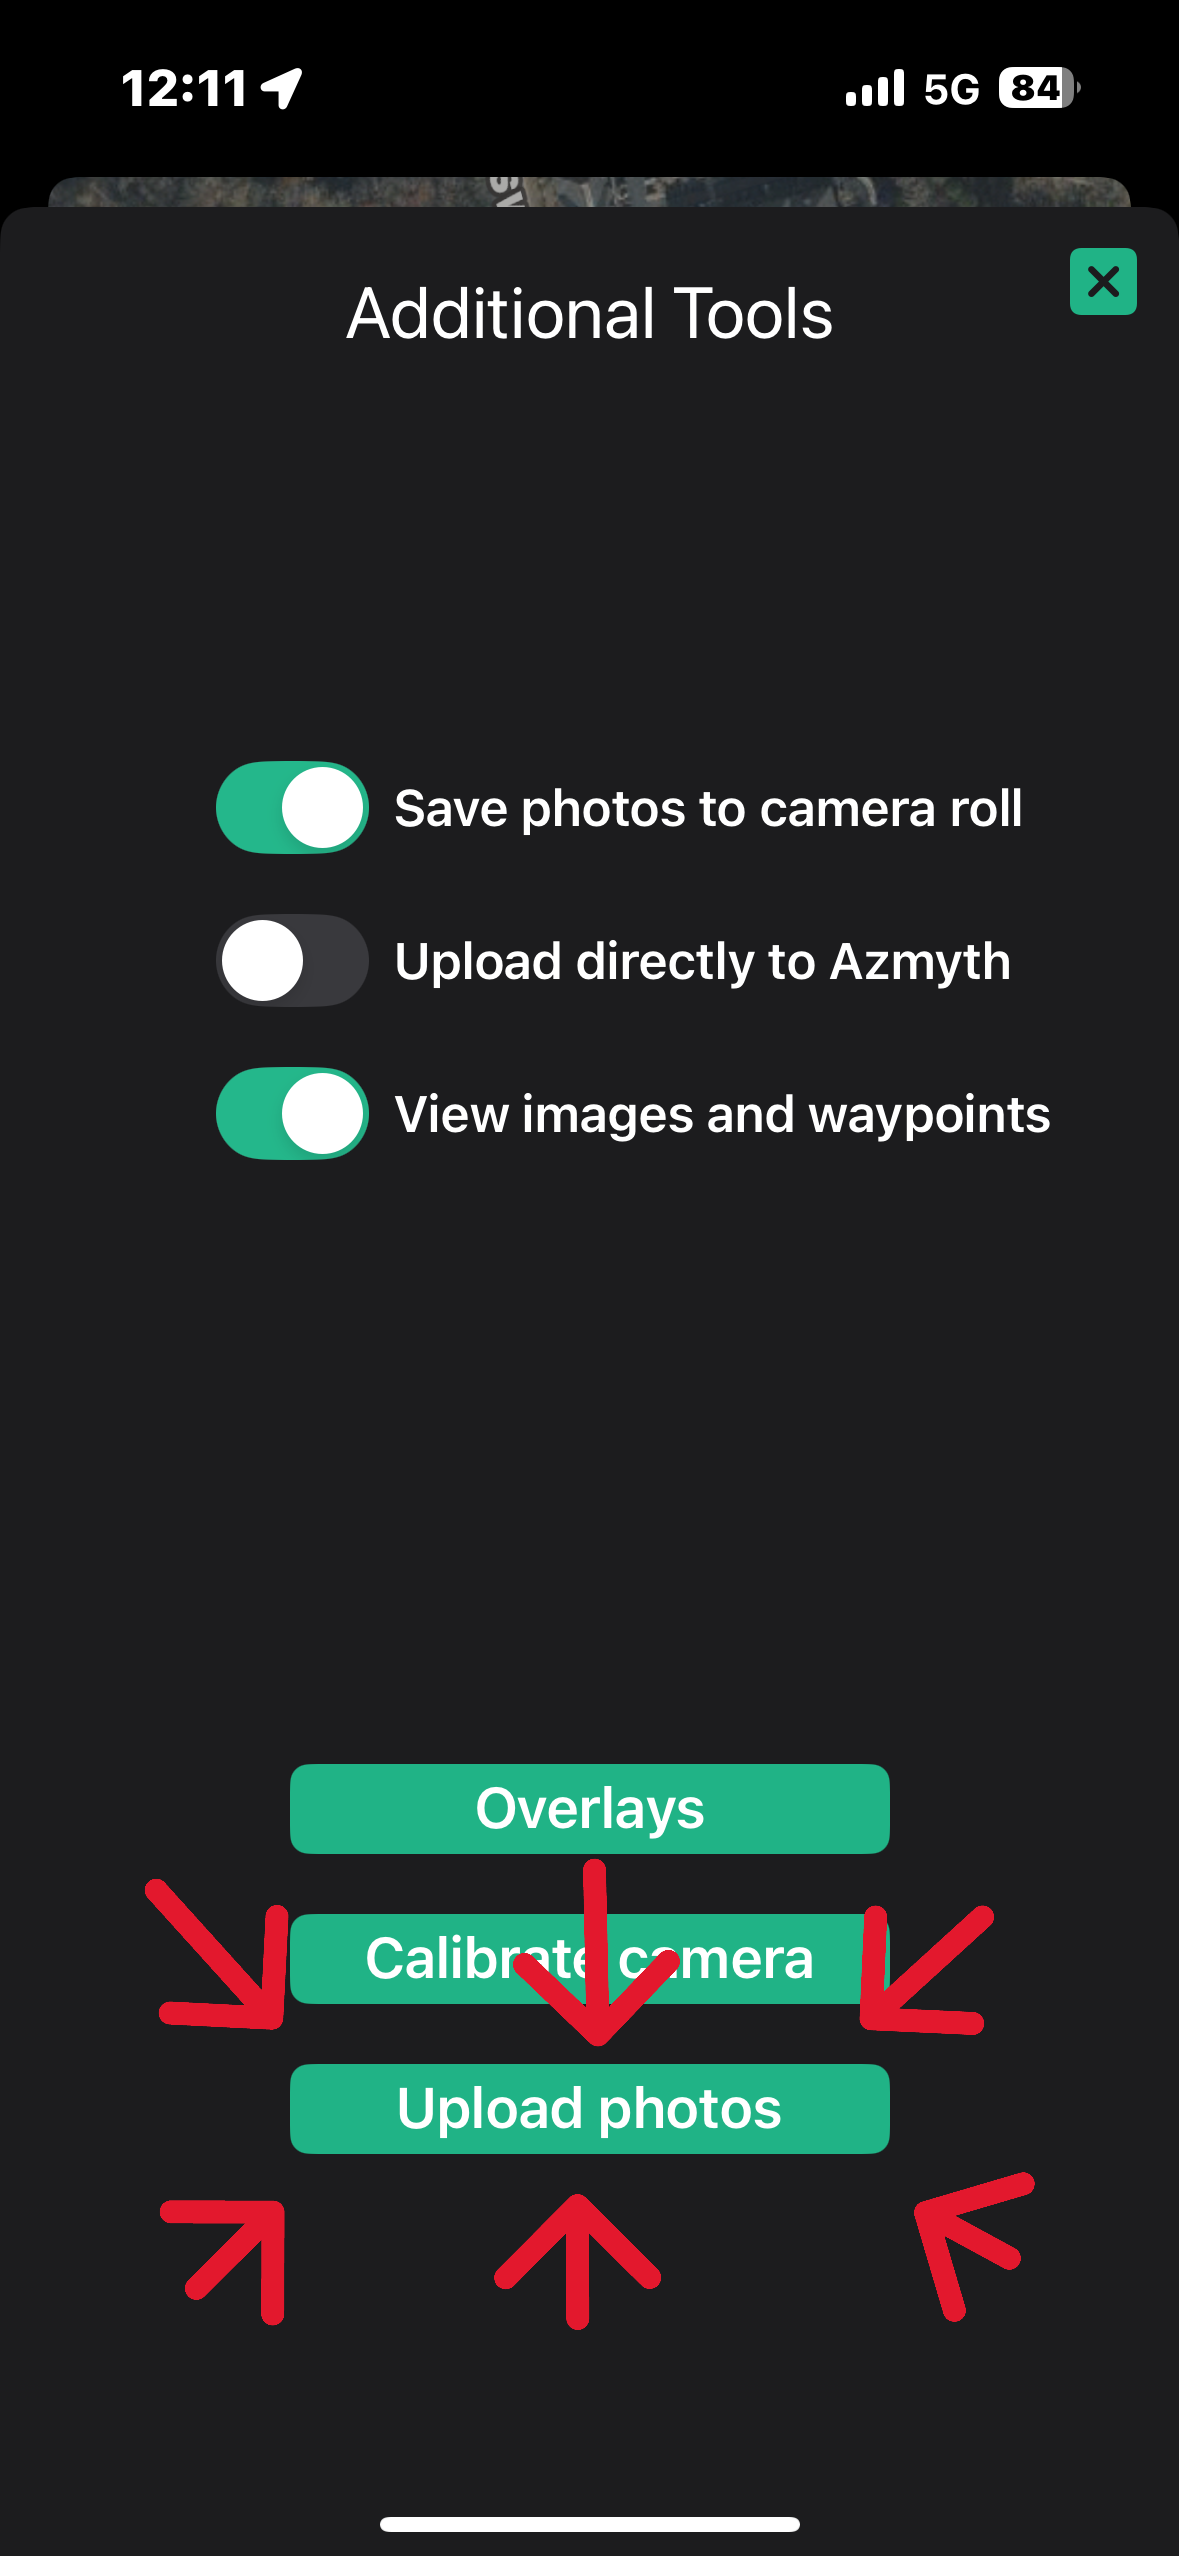
The upload photos button is located at the bottom of the menu. - Select all photos you would like to upload.
- Click Add.
- A pop up will appear indicating upload progress.
- Once complete, a pop up will indicate how many photos were successfully uploaded.
- If any photos failed to upload, it will be highlighted in the pop up and those images will not be liked in the camera roll.
Once complete, you’ll see your nodes in the Azmyth web app.
3. Recommended Workflow
For most teams:
- Enable Upload directly to Azmyth for crews working in areas with strong cellular connection.
- Train field crews to check sync status at the end of each shift.
- If auto-upload is off, set a standard procedure:
- Upload all nodes at the hotel on Wi-Fi each evening, or
- Upload at the office before turning in the device.
This ensures that no data gets stuck on a device and that office and engineering teams always have up-to-date information.
4. Troubleshooting Uploads
If nodes are not showing up in Azmyth web:
- Confirm the device has an active internet connection.
- Make sure you’re logged into the correct Azmyth account. Try logging out and logging back in if uploads are failing.
- If issues persist, contact support.